Initialize CloudFormation Template
Initialize CloudFormation Template
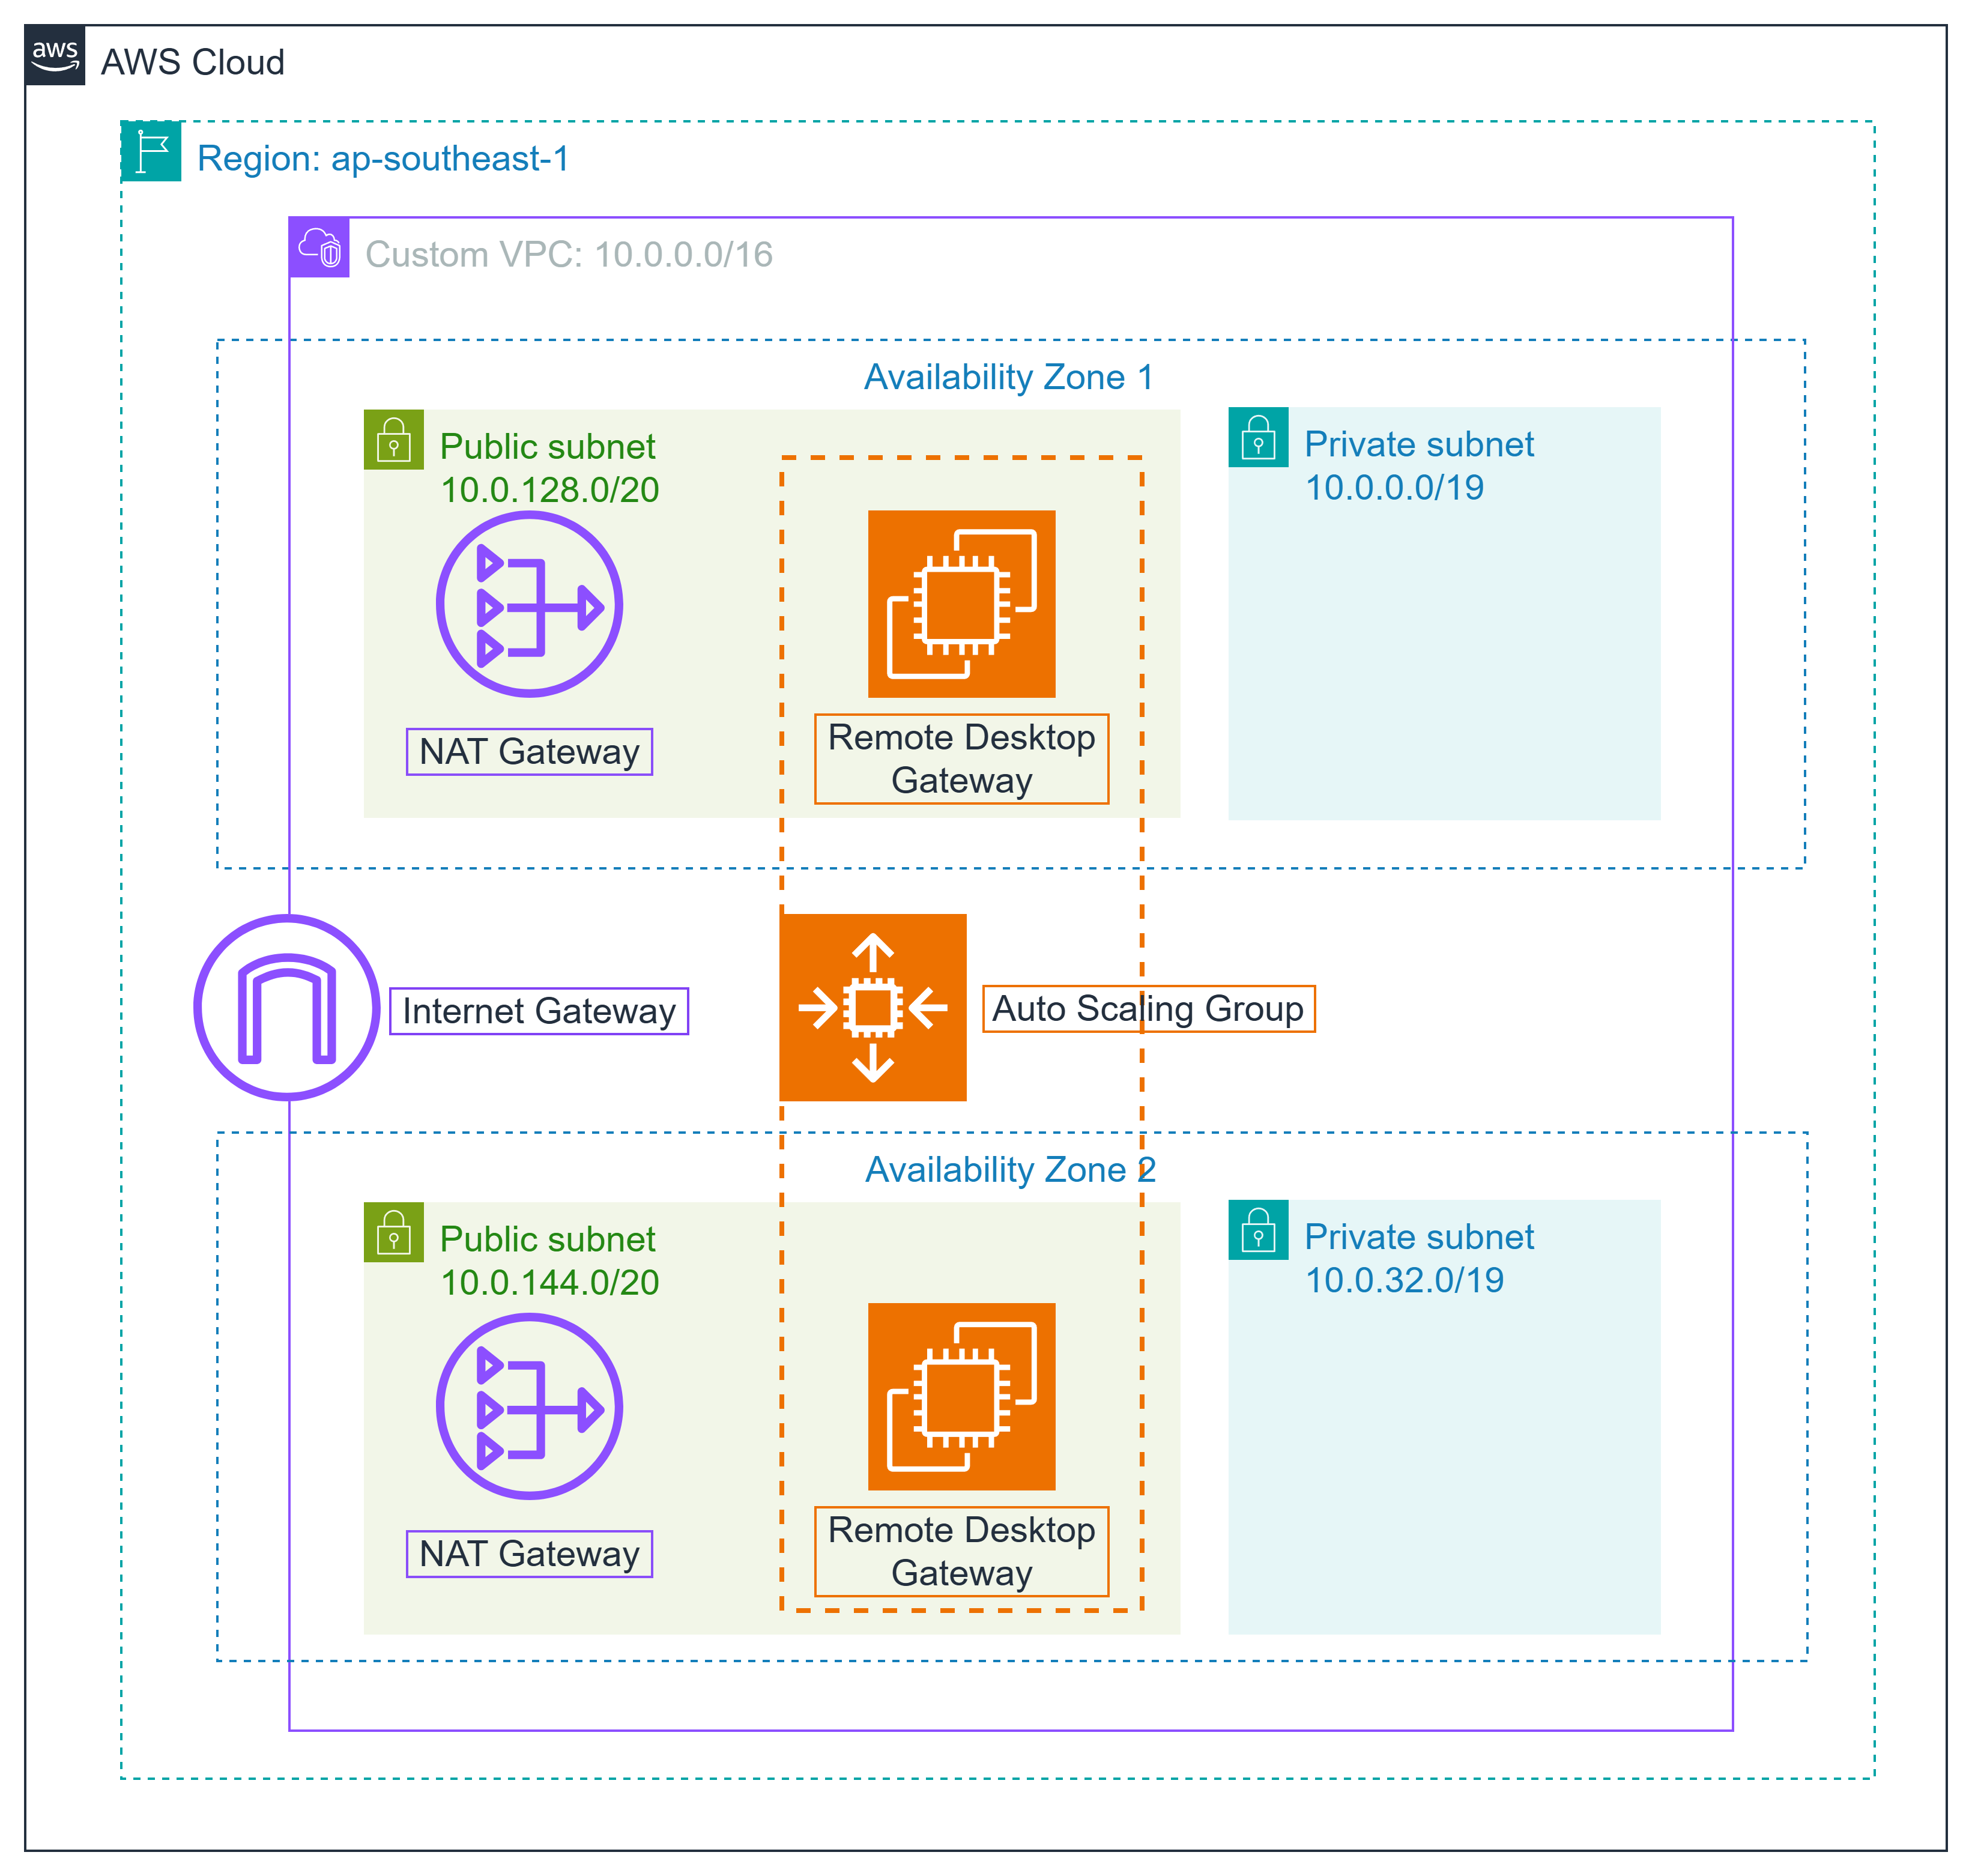
In this step, you will build the network infrastructure in AWS. In this section, you’ll leverage the template from AWS Quick Start to build a secure and high availability (HA) network infrastructure using AWS CloudFormation. This is the architecture that will be built from the template.
Step 1: Download template from GitHub
 Before creating the stack, you need to download the CloudFormation template from GitHub repository:
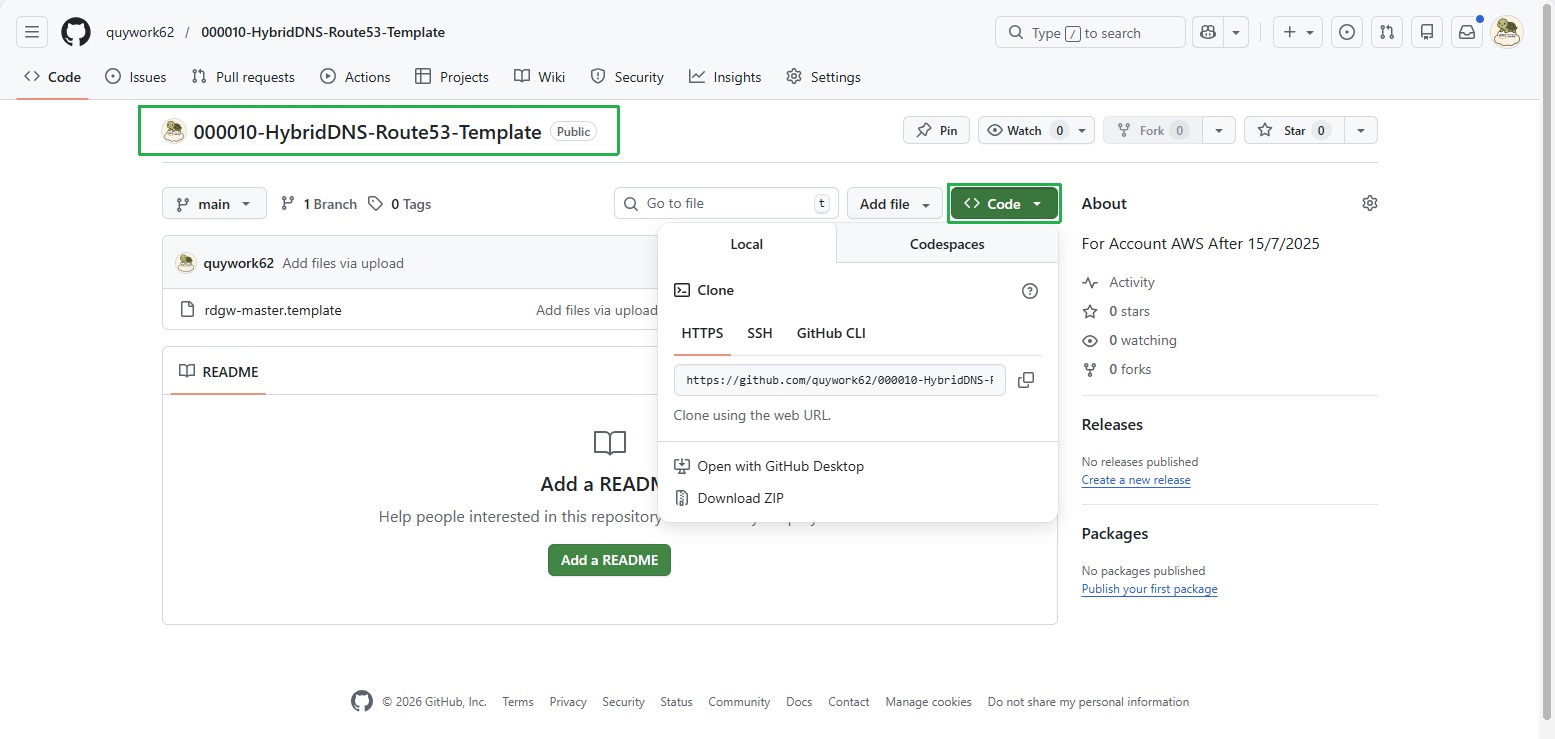
- Access GitHub repository:
https://github.com/quywork62/000010-HybridDNS-Route53-Template.git - Download the template file to your computer or clone the repository:
git clone https://github.com/quywork62/000010-HybridDNS-Route53-Template.git
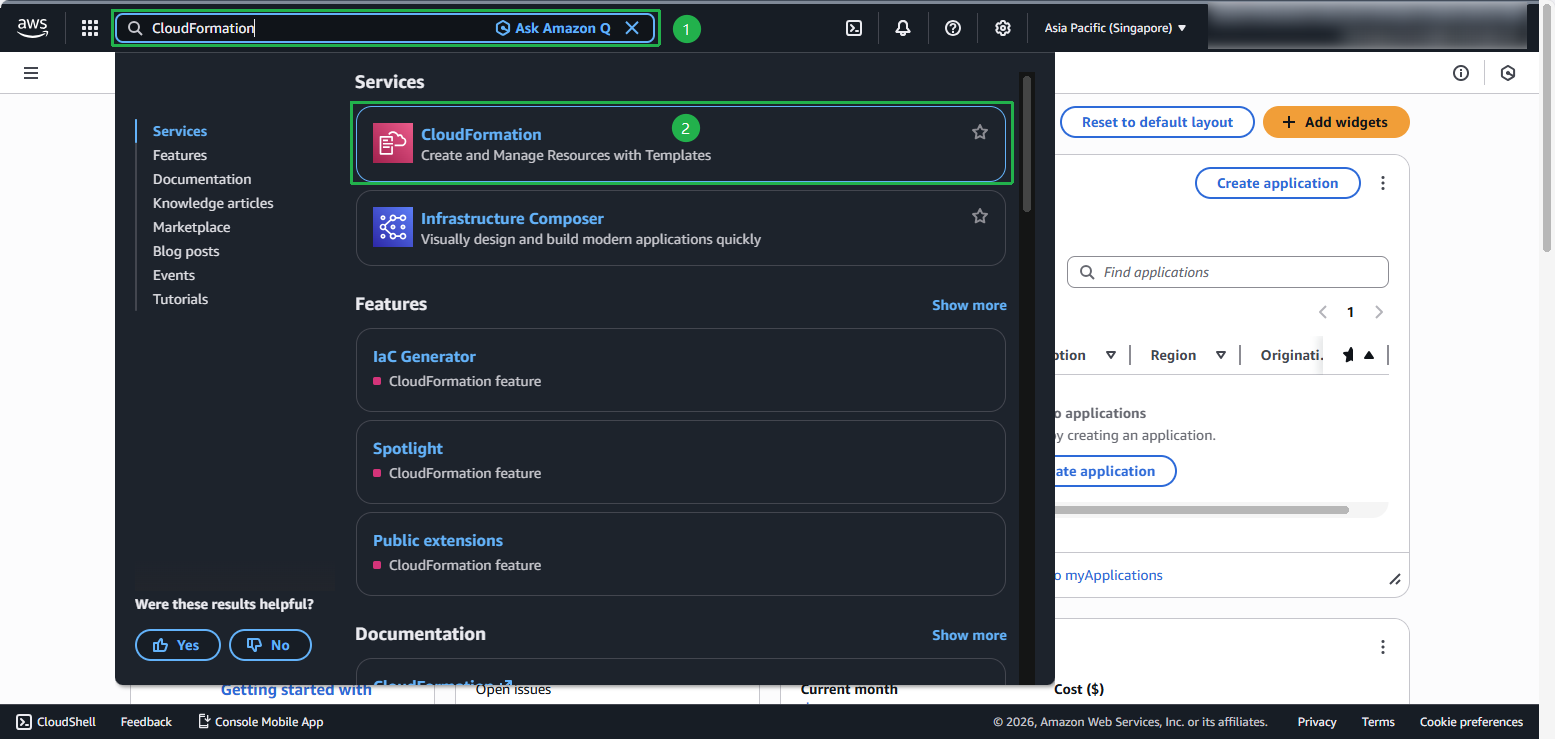
Step 2: Login to AWS Management Console
- Find and select CloudFormation in AWS Management Console.
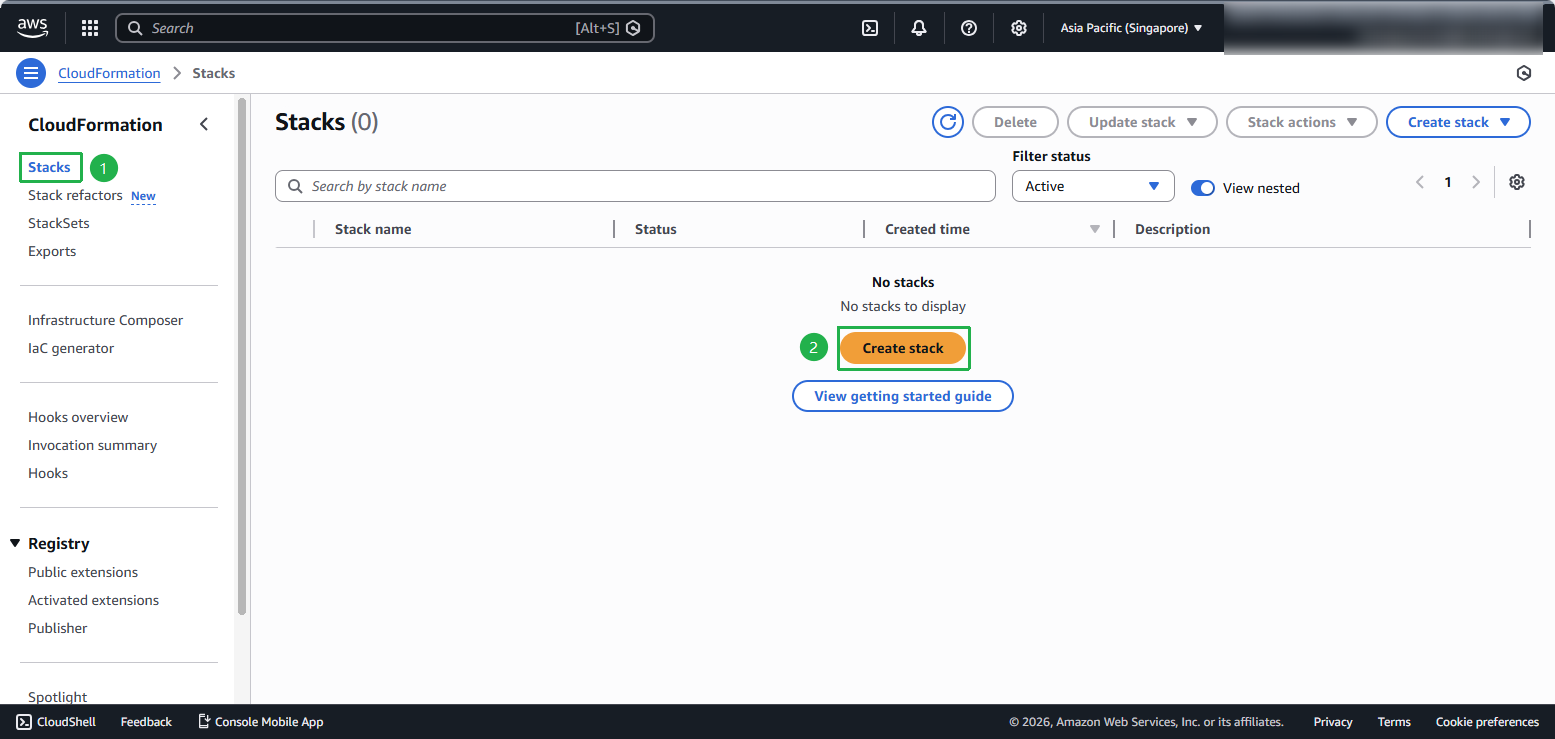
Step 3: Create CloudFormation stack
- In the CloudFormation interface, select Create stack.
-
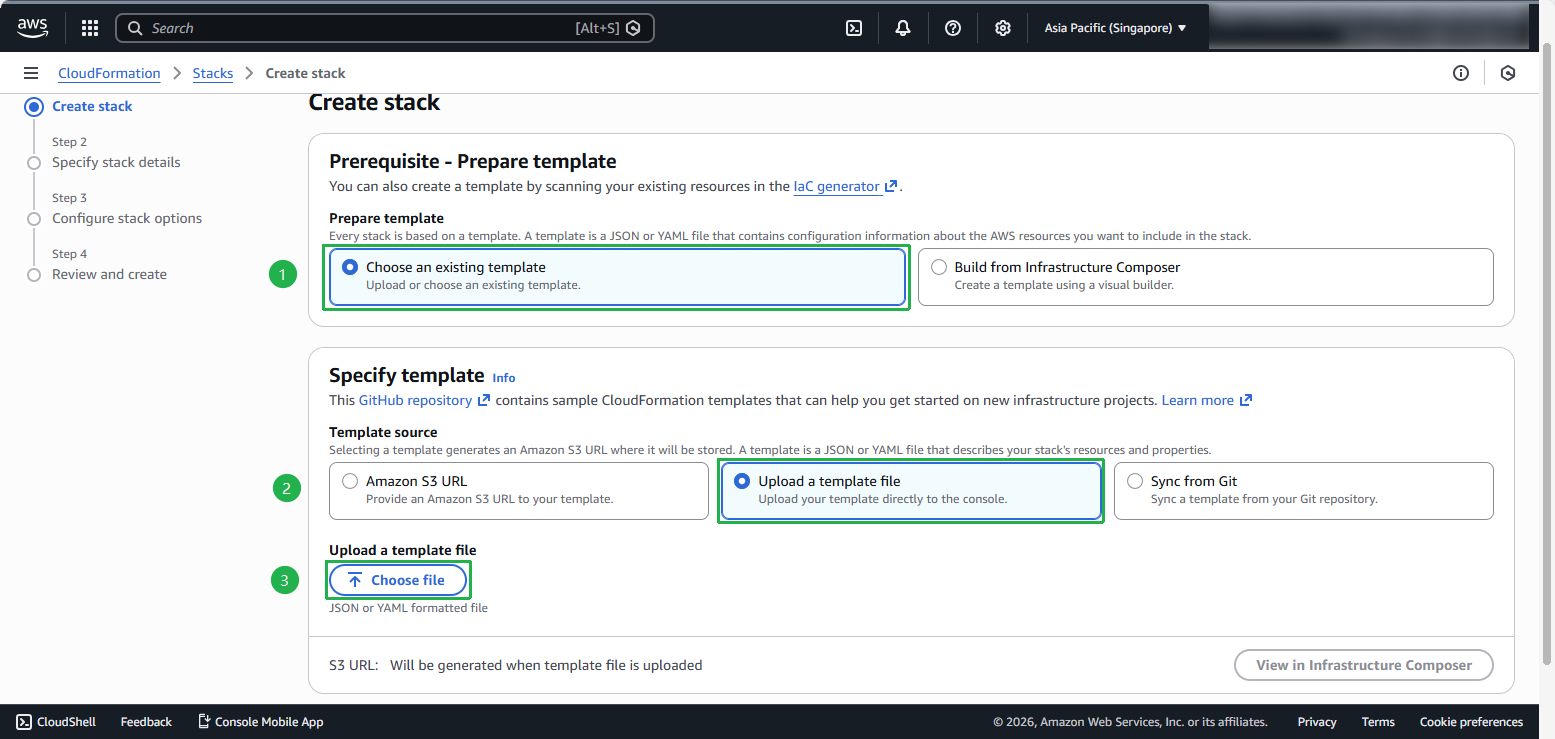
In the Create stack interface:
- Prepare Template: Template is ready
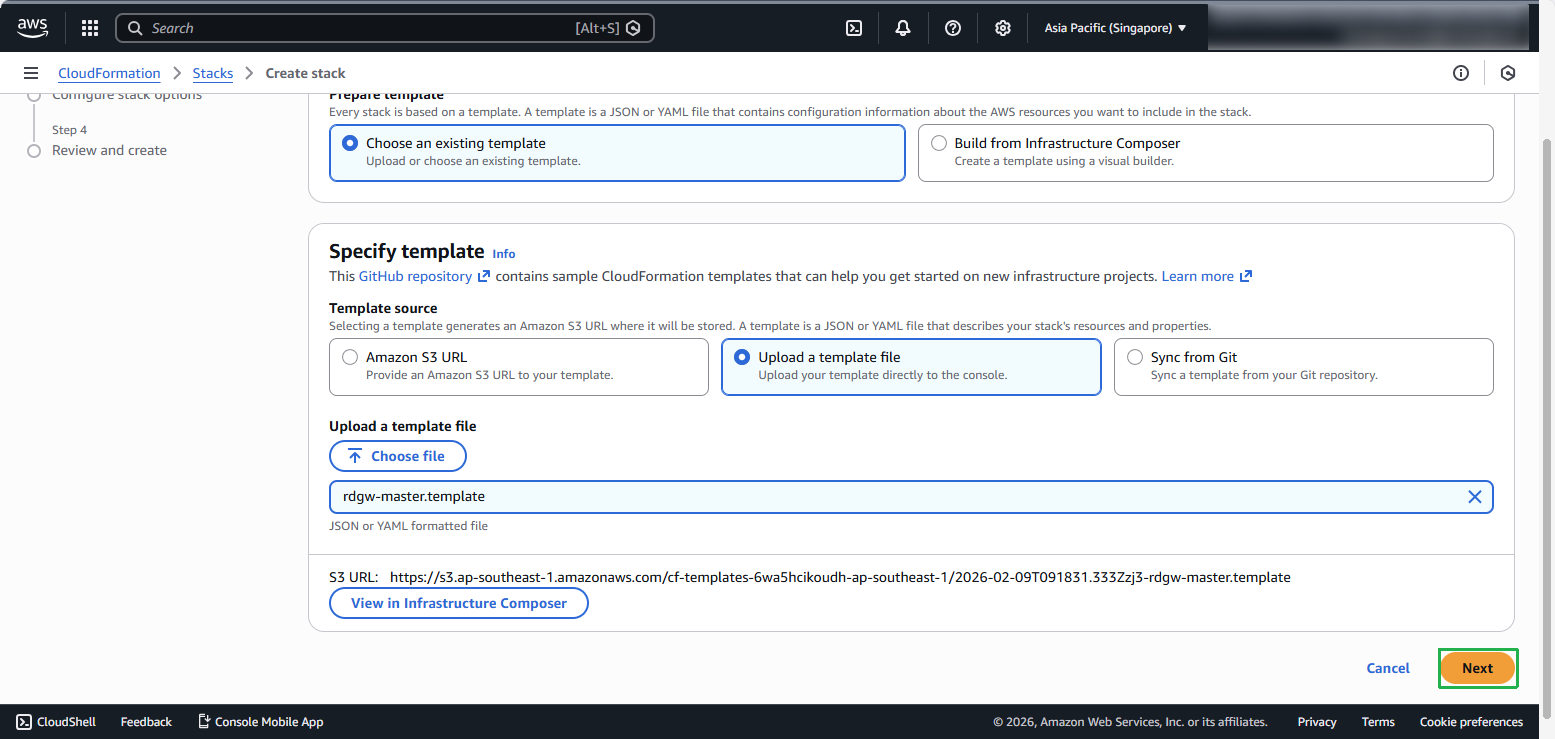
- Template Source: Select Upload a template file
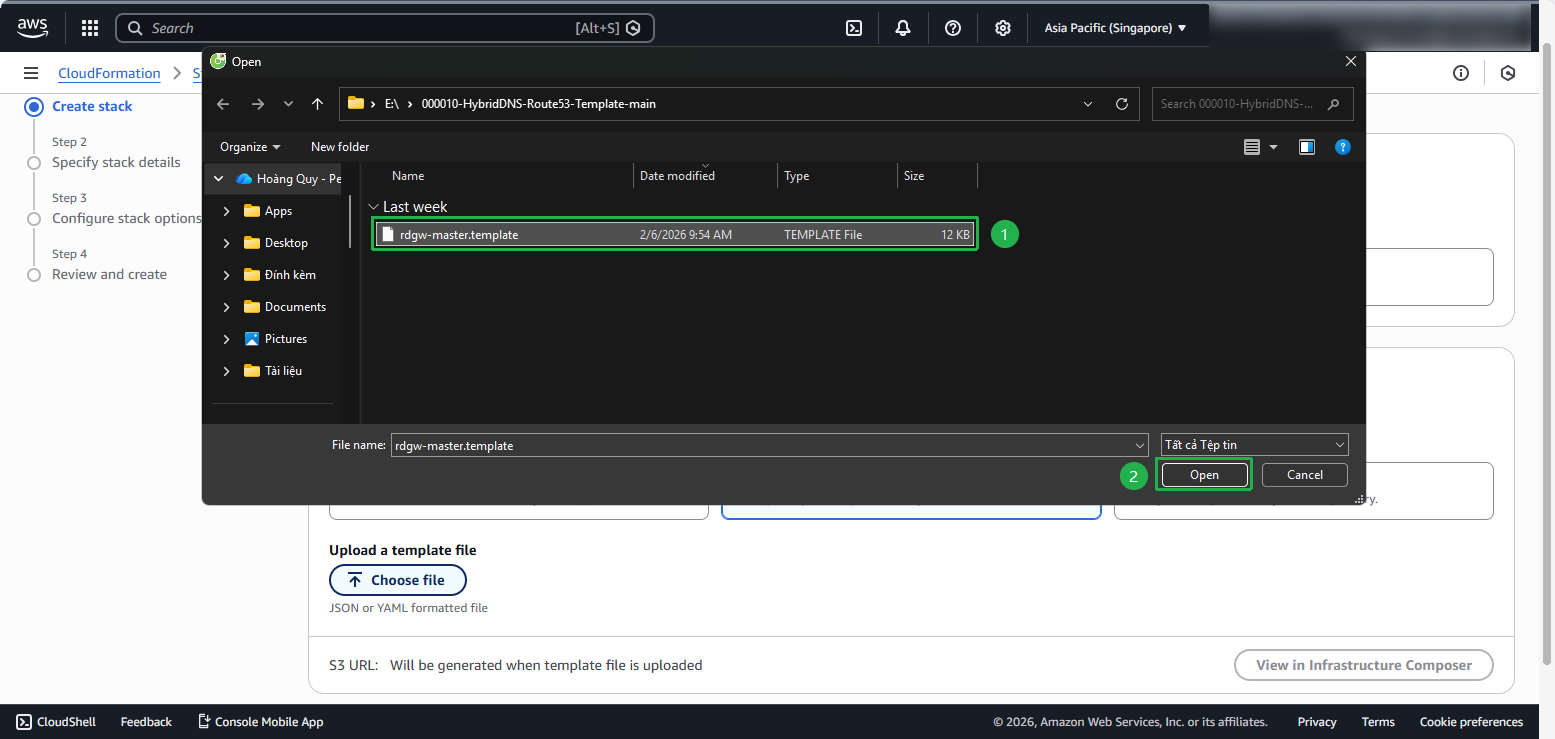
- Select Choose file and upload the template file downloaded from GitHub
- Select Next.
- Select Next.
-
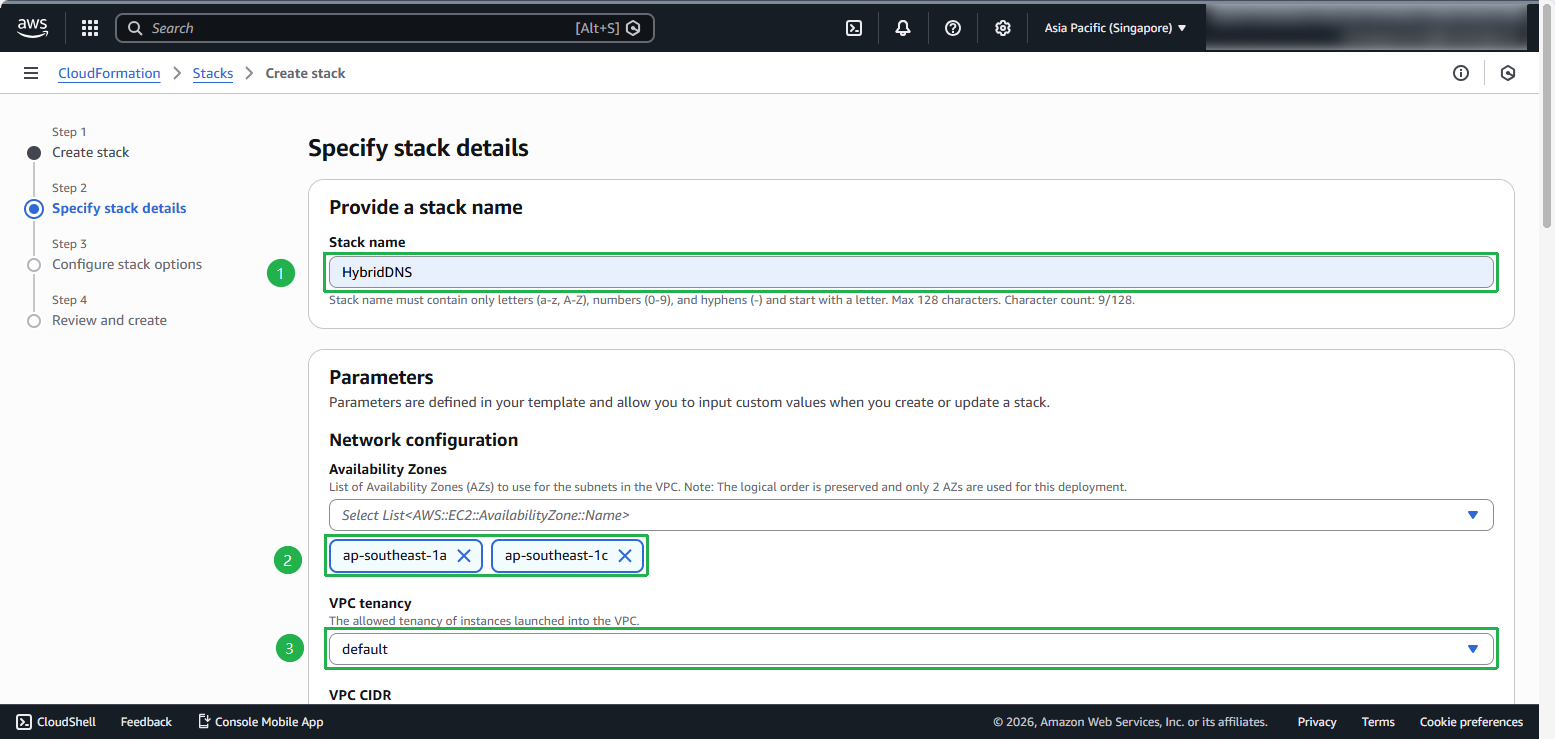
Configure the stack:
- In Stack name, enter
HybridDNS. - In Availability Zones, select ap-southeast-1a and ap-southeast-1c.
- In Stack name, enter
-
Configure Network:
- In VPC CIDR, Private Subnet 1 & 2 CIDR, and Public Subnet 1 & 2 CIDR, keep the default values.
- In Allowed Remote Desktop Gateway External Access CIDR, enter
0.0.0.0/0.
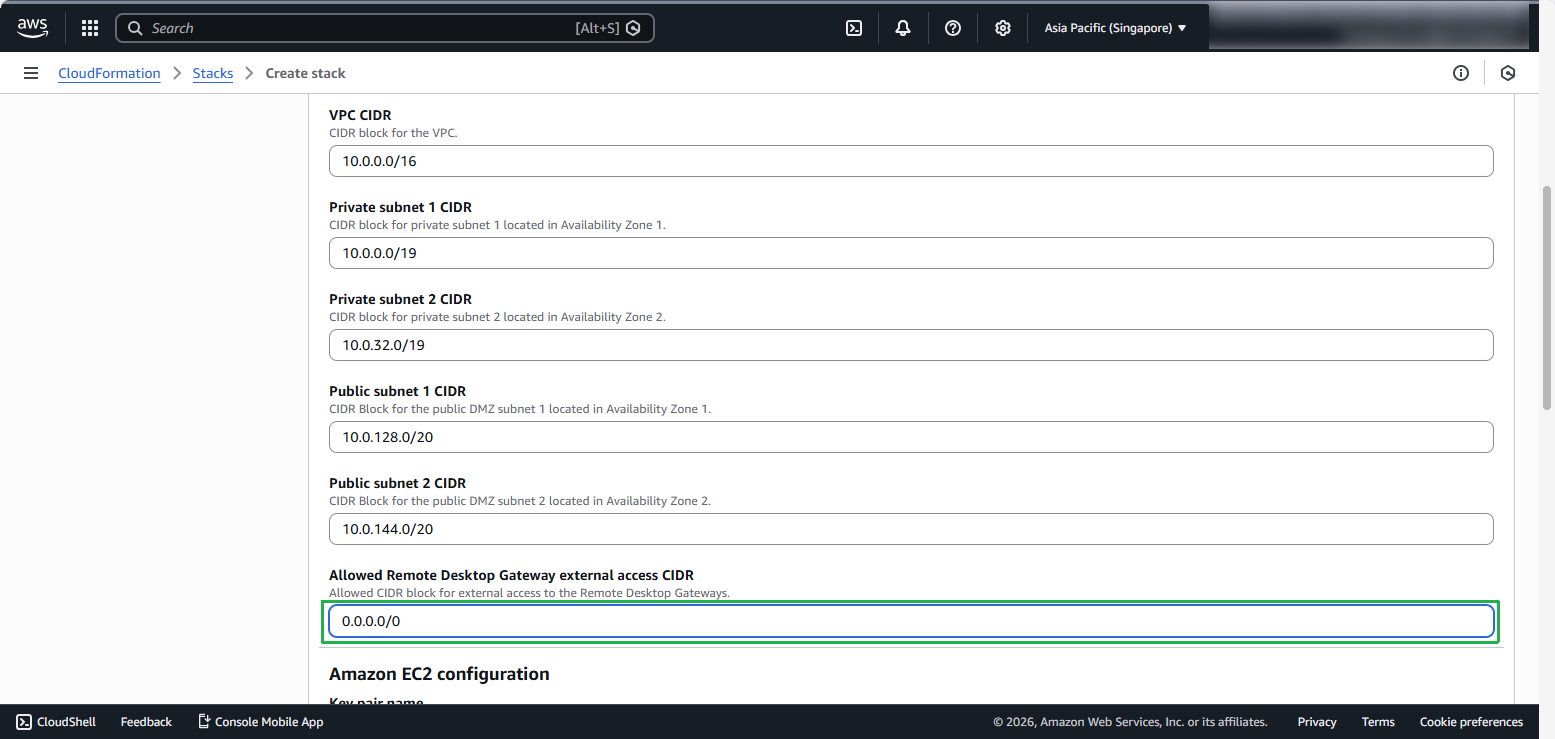
This configuration allows any IP address to access the RDP port of the EC2 instance to be created. This is not a secure configuration and should not be used in production environments. We will adjust access permissions after the CloudFormation template deployment is complete.
-
In Amazon EC2 configuration step:
- In Key Pair Name, select the previously created Key Pair (hybrid-DNS).
- In Remote Desktop Gateway Instance Type, keep the default value (t3.2xlarge).
- In Number of RDGW Hosts, keep the default value (1).
- In Admin User Name, keep the default value (StackAdmin).
- Admin Password, set an easy-to-remember password for you.

The diagram above shows two RDGW hosts (one host per Availability Zone). For practice purposes, we start with one RDGW host to reduce CloudFormation initialization time. However, as shown in the diagram, you can see the RDGW host is deployed in an Auto Scaling Group. After the CloudFormation stack deployment is complete, you can try configuring the Auto Scaling group. Auto Scaling group is an important service that provides availability and scalability for your application.
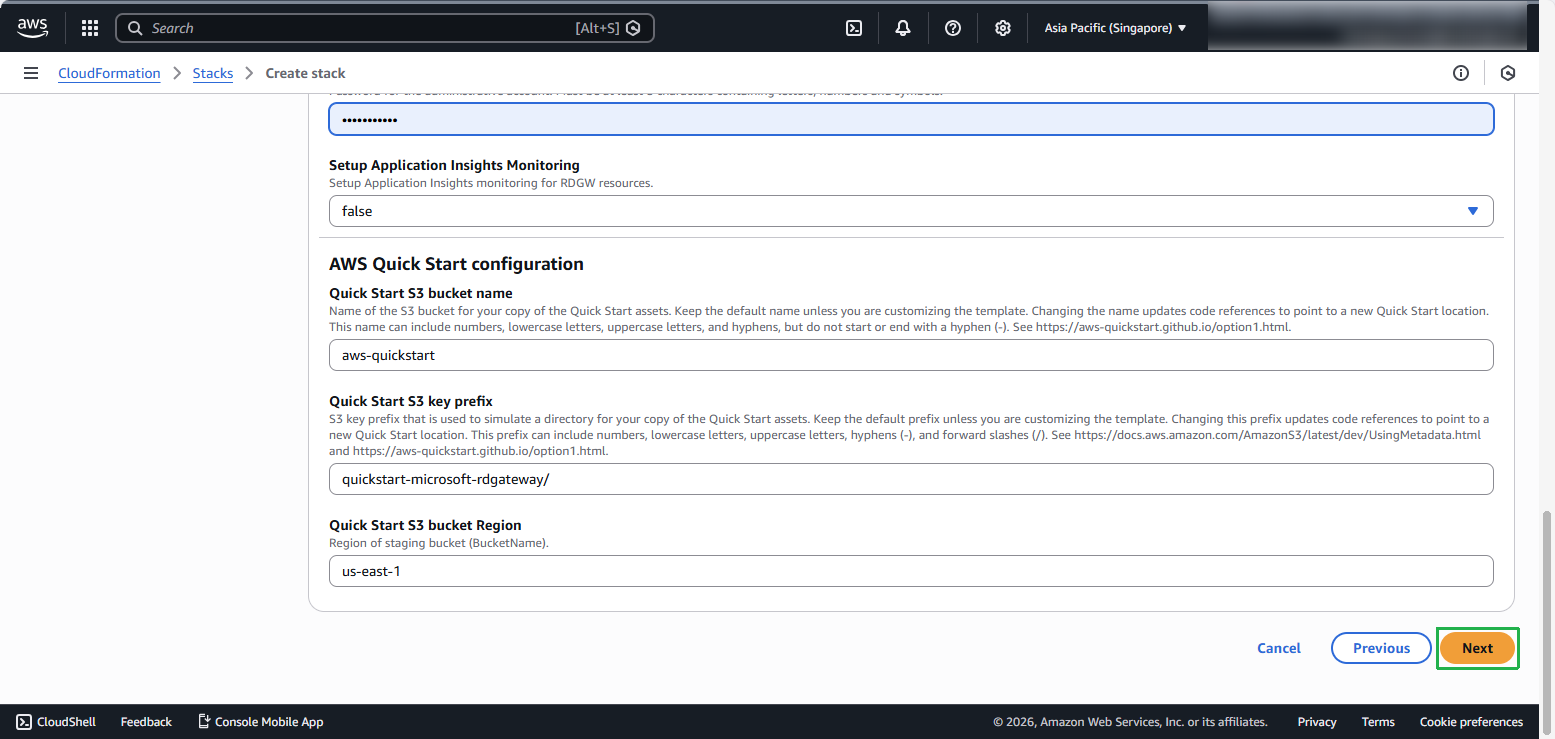
- For other options, keep the default values and select Next.
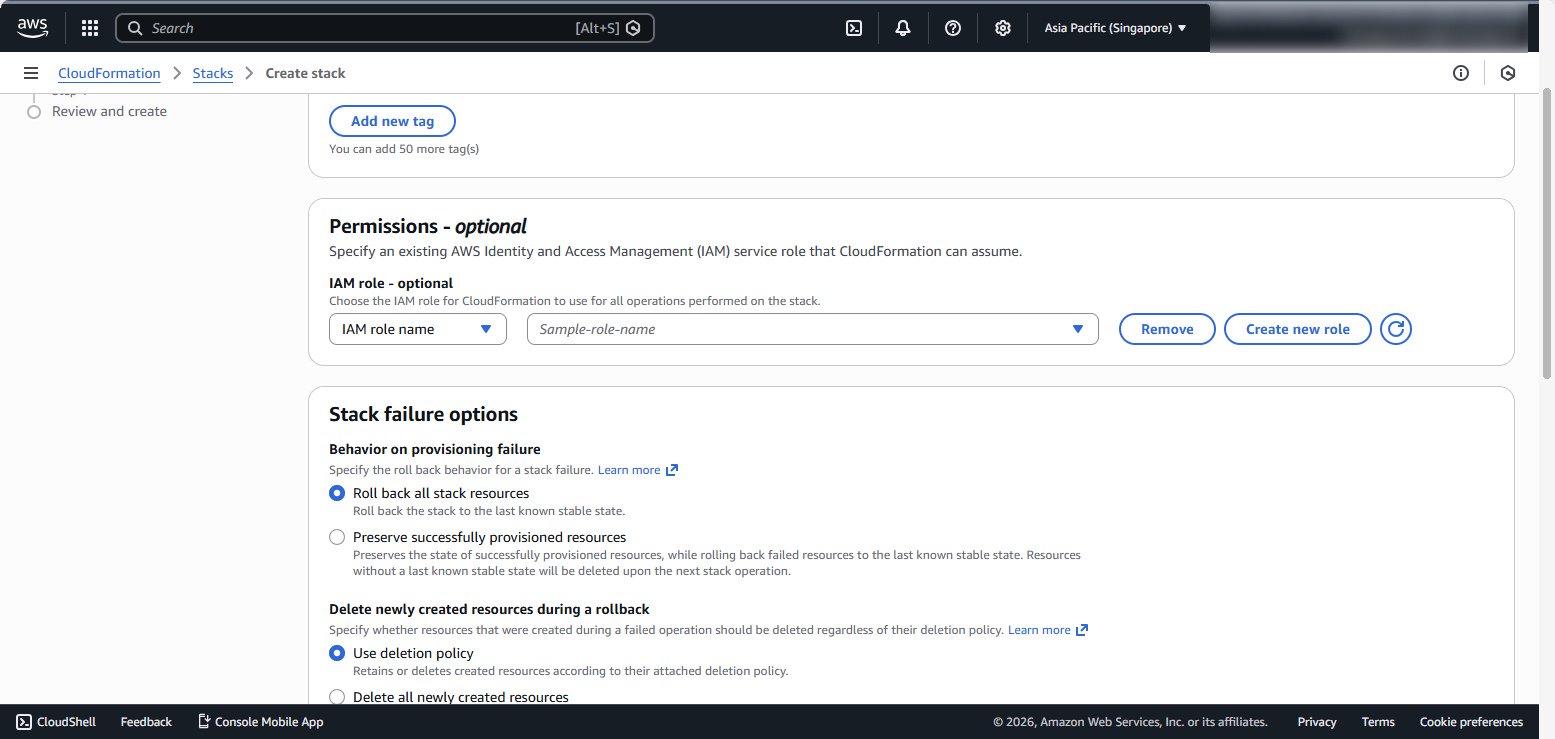
- Keep the default configuration.
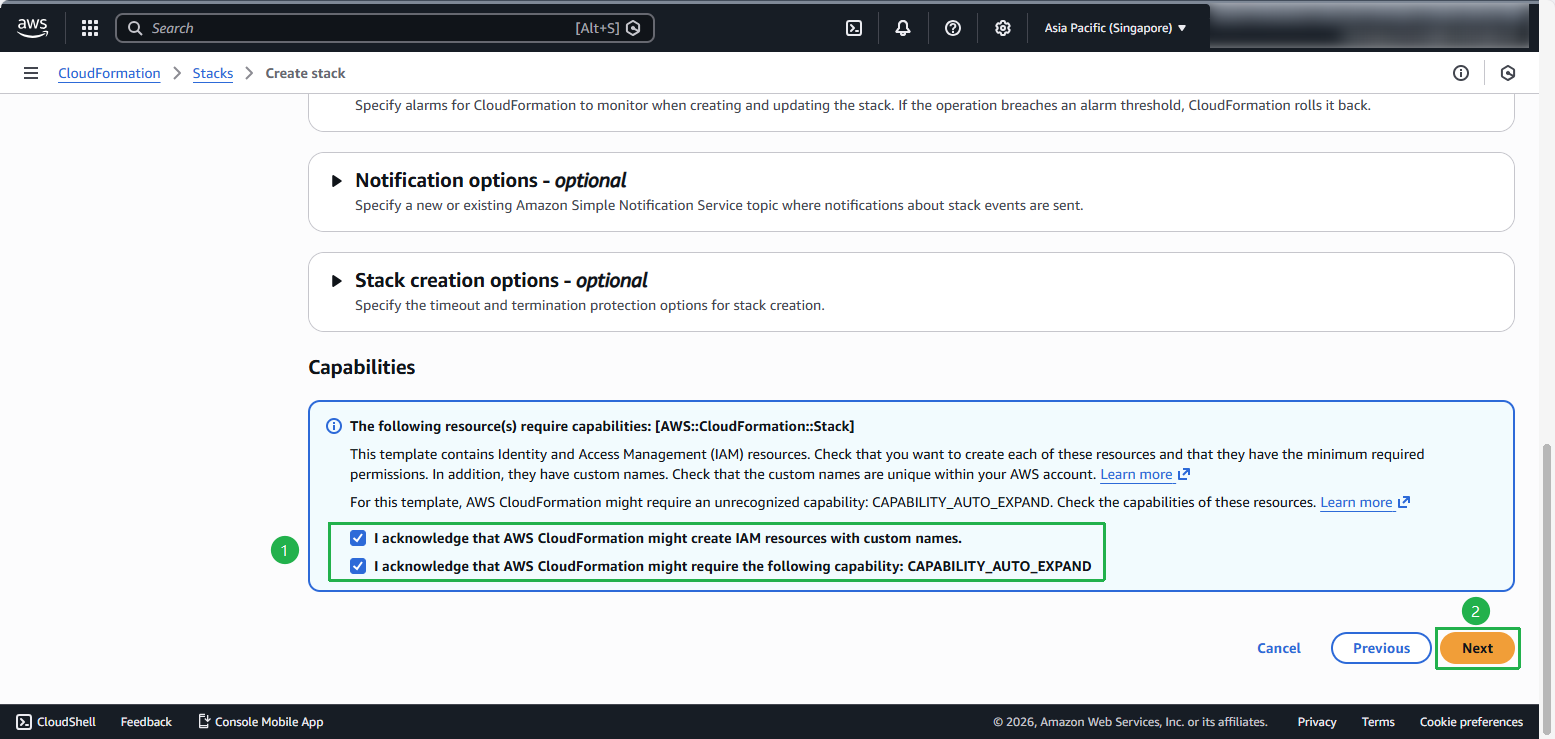
- Review the stack settings on the Review HybridDNS screen. Check the two checkboxes and select Next.
- Review and create Stack
At this step, you will review the entire CloudFormation stack configuration before creating it.
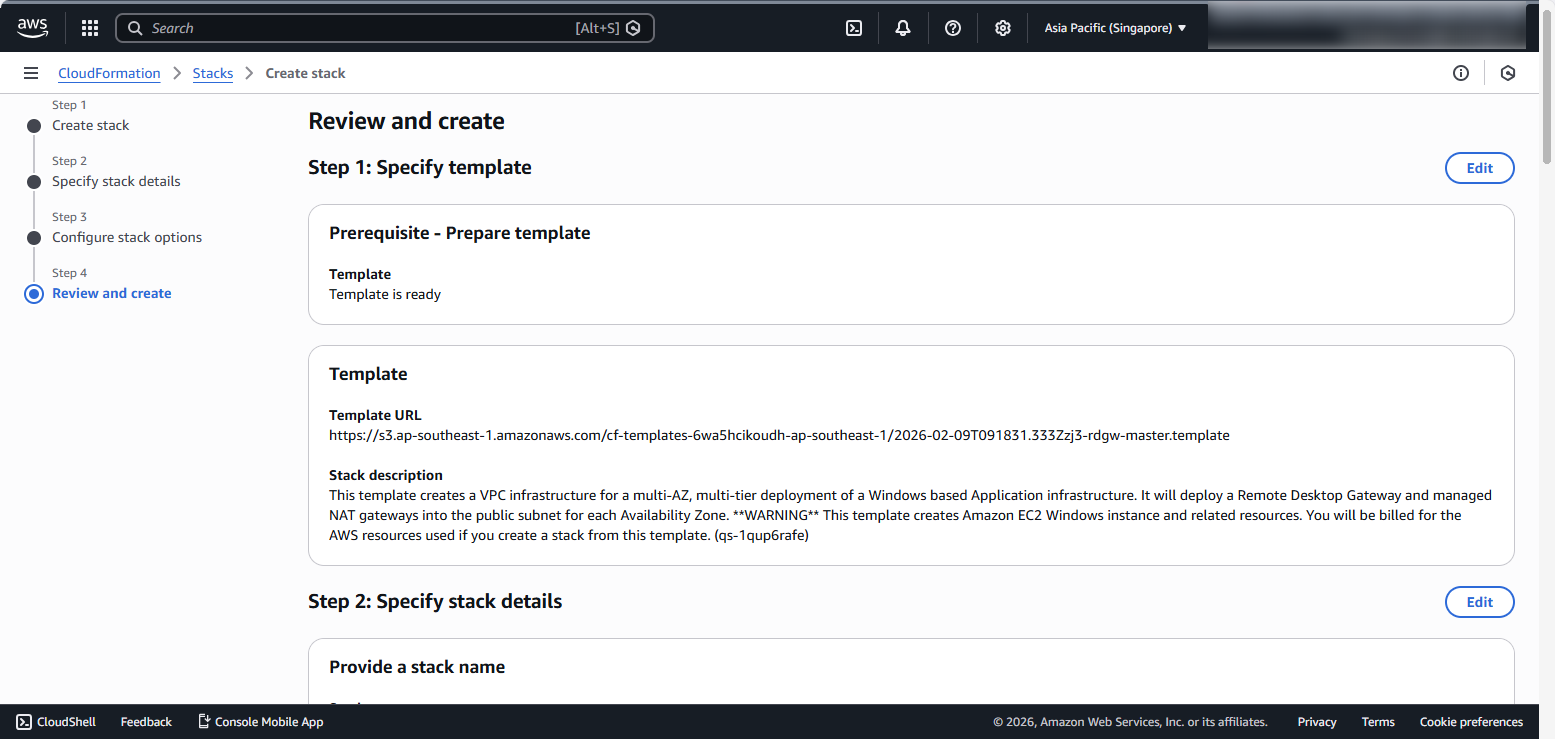
- After reviewing all information:
- Click Submit to start creating the stack.

- The template takes about 15 minutes to complete. During this time, we will review the components that the CloudFormation template will create. After the stack initialization process is complete, the stack status will change to CREATE_COMPLETE.

